If you’ve got a few chickens and are looking to get more — hatching eggs and raising your own chicks is a fun way to grow your flock. You get to select the eggs from your best hens and watch the chicks evolve from a tiny dot in the egg to a fully grown chicken, laying eggs herself.
Since 2015, in an effort to increase our flock, we decided to hatch our own chickens after previously having lost quite a few chickens to foxes. After having learned how to properly protect our hens, we’ve been growing our flock each year, often also being able to sell chicks and young hens (or barter them for help or other resources) with other off-grid neighbors.
In this article, you’ll find everything you need to learn how to hatch chicken eggs.
How to Encourage Your Broody Hens to Hatch Eggs
The best way to come by baby chicks is to allow a broody hen to sit on the eggs until they hatch, then raise and protect the chicks. This hatching process usually takes about 22 days. Everyone who has tried both the natural way and incubating eggs will tell you it’s easier if the hen does it herself!
What is a broody hen?
A broody chicken is simply a chicken who’s gotten into a “let’s make babies” mode: When the time of year, temperature and the general mood in the flock is just right, a chicken can start sitting on eggs in order to hatch them and have baby chicks.
Not all breeds will make good broody chickens. Some egg-laying chicken breeds have been bred to not get broody, while others (like Silkies) will generally be the best mother hens you could wish for.
How to know if your hen is broody? What are the symptoms of broodiness?
You can be sure a hen is broody when she sits in one spot fanatically — she’ll be very hard to distract and often not even budge for food.
Keep a good eye on her, however, as not all hens turn out to be all-out broody; if she leaves the nest for longer periods of time, check the eggs — if they’re cold, it’s probably better to “break her,” or have her sit on fake eggs (see below).
What if your hen doesn’t get broody?
If you have chickens that have been specifically bred for laying eggs, it’s still very possible that they won’t get broody. In my neck of the woods in northern Spain, most chickens you buy (e.g., at the vet’s office) come from an industrial environment; their instinct to sit on eggs until they hatch has been totally bred out.
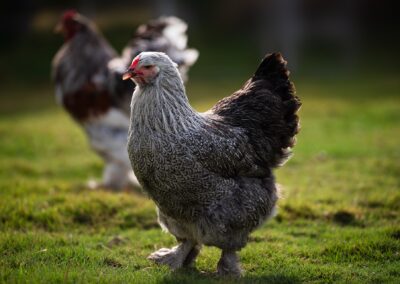
Un-broody hens is the reason I got my first incubator — my chickens just weren’t the kind that would get broody. In addition to my incubator to help breed chicks, I also have a few of the devotedly broody Brahma chickens, and I’ve especially noticed that my Brahma-laying mixed chicken loves being broody!
What if your hen is broody, but you don’t have a rooster?
If your hen is broody but she’s sitting on eggs that are not fertile, all she will do is cause the eggs to rot. If you have access to fertile eggs at that moment, you can just swap the eggs she’s been sitting on, for fertile eggs.
Maybe you have neighbors who have hens and a rooster, and don’t mind swapping a bunch of your eggs for a bunch of theirs? If you don’t have access to fertile eggs, the best thing to do is to “break” the broody hen.
How to break a broody hen…
If a hen is broody but isn’t sitting as she should (perhaps she’s not consistently sitting on all of the eggs, or perhaps she takes long breaks from sitting that allow the eggs to get cold) — or if you just don’t have any eggs for her to sit on — the best thing to do for her is to “break the broodiness.”
Most of the time, it’s easily achieved by no longer allowing her access to the nest. If that’s not possible, another easy way is to replace her eggs with fake eggs — store-bought wooden ones, for instance.
How to care for a broody hen
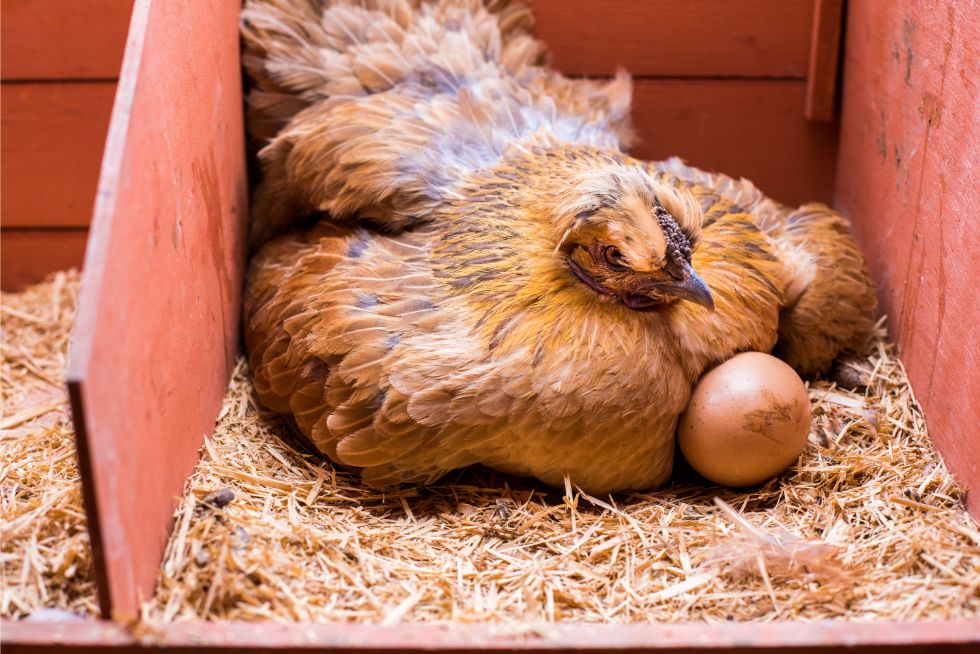
People are often very worried about their broody hen; how can you make sure they are eating and drinking properly, and not starving themselves?
Most broodies will lose a bit of weight in the three weeks they sit on eggs, as well as in the first week of caring for the chicks. The eggs need to stay warm and cozy, and abandoning the eggs (or eventually the chicks) for too long can be fatal for the chicks.
Make sure your broody hen has access to food and water at all times, and don’t worry too much if you don’t actually see her eat or drink. She’ll often simply choose her desired time to leave the nest… and that might be just when you’re not looking.
Organizing your broody hen’s eggs
When a broody hen is sitting on eggs, it’s rather essential that all the eggs are placed under her on the same day, give or take a day. If she’s been sitting on a bunch of eggs for five days, for instance, don’t then add more eggs. If you were to do so, they would technically hatch five days later than the previous bunch, but chances are your hen would have left the nest with her newborn chicks before that.
Another important point is that your broody hen doesn’t sit on other fresher eggs while she’s broody. Other chickens may come in and lay their eggs near your broody hen and she may collect them under her — I recommend that you remove these newer eggs, for the same reason as above.
To make it all go smoothly, I advise marking your broody hen’s eggs with a pencil so there will be no confusion. In the past, I’ve had a chicken sit on store-bought plaster eggs to “test” if she’s broody; if she is, after a day or two she’ll get the eggs I want her to hatch. I do kind of use my hens as a natural incubator 🙂
For how long can a broody hen leave her eggs?
How long it takes for a chicken egg to get “spoiled” because the aspiring chicken mom left it for too long, really depends on circumstances. In hot summer temperatures, it’s more okay for a broody chicken to leave the nest for a bit — the eggs won’t cool that fast. When it’s colder, a broody hen will usually take less “time off” to eat and drink anyway.
What if your broody chicken abandoned her eggs?
I have personally rarely seen a broody chicken consistently leaving her eggs alone for too long, unless she decided it was just not worth the hassle — and stopped being broody.
When a chicken is no longer broody, that’s often it; there is no straightforward way to make it broody again. The best way to make sure the eggs still hatch is to use an incubator. Read on to learn about incubator hatching!
Using an Incubator for Hatching Eggs
If you don’t have a broody hen, using an incubator to hatch your eggs is a wonderful way to get chicks from your chickens’ fertile eggs.
How to keep your eggs until you’re ready to incubate them (or place them under a broody hen)
Keep your freshly laid eggs at room temperature — not too cold (so not in the fridge), not too hot (preferably in a cool and dark space), and if possible without too many temperature fluctuations. In my case, the eggs are best kept in my pantry, where the temperature stays relatively cool and constant.
To keep the eggs fresh longer, store them upside down (pointy tip down) so that the air sac stays at the top of the egg (blunt end) and doesn’t touch the yolk, and cause early onset rotting. If you would like to keep the eggs lying horizontally, just remember to turn them regularly. I keep my eggs upside down in an egg carton. You can technically keep your eggs for 10-14 days before you begin the incubation process.
What type of incubator should you use for hatching eggs?
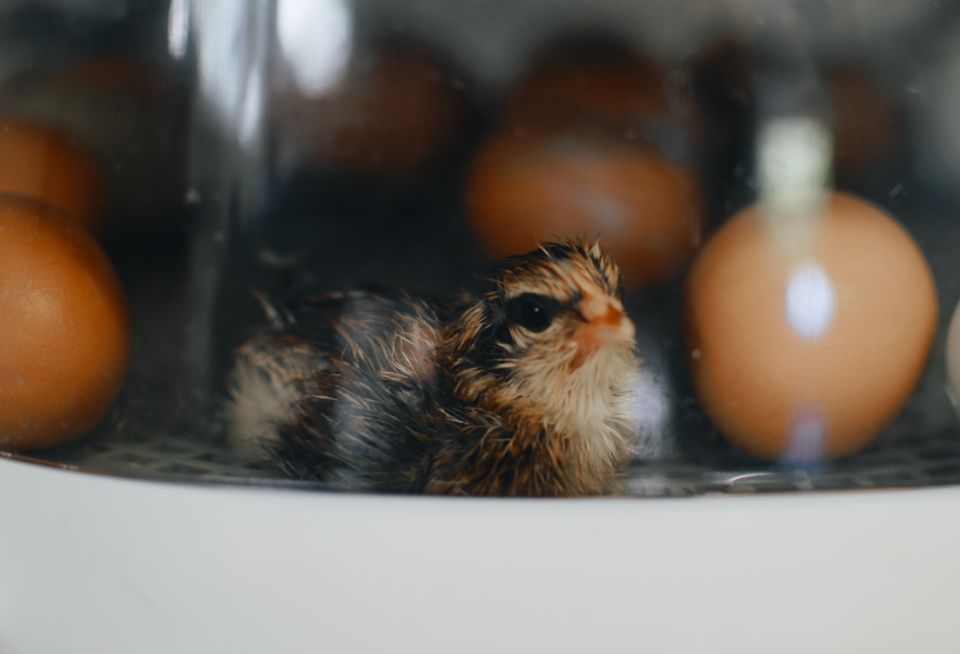
When I planned my first batch of home-grown chickens, I did extensive research and came up with one brand of incubators with which I’m still completely in love: Brinsea has everything you need to get started with hatching eggs, and for small commercial operations, the incubator even offers more elaborate equipment.
I now own a Brinsea Mini Advance Incubator, and I love it. This particular incubator’s only downside is that it will hold “only” seven eggs at a time. On the other hand, however, having seven chicks growing up inside your house is more than enough noise and rubbish to handle!
Since using my first Brinsea, I have since borrowed various friends’ larger incubators but found that they did not have the same dependable high-hatch rate.
My Brinsea Mini Advance does everything I need it to do, such as:
- Turn the eggs automatically, so I can go away for the day without worrying about turning the eggs 7-12 times a day
- Automatic temperature control — a tolerable (not very loud) alarm rings if the incubator gets too cold or too hot
- Automatic humidity dispenser and fan. This aspect of the incubator, I like a bit less. These devices, used after the chicks are born, are supposed to dry and warm the chicks, however, in my experience, the chicks never dry thoroughly. Because the chicks were still damp, the surface area became slippery for them. I made a tiny mat and on the first day of “lockdown” (see later), I swapped the “egg turning” platform for my little homemade mat, and the chicks no longer slip and slide in the incubator directly after they’re born.
Phases of the egg: From egg to chick
It typically takes 22 days from the day you put the eggs in the incubator, to the day the chicks hatch. Some will say it’s 21 days, but it probably depends on how you count… When I set up my incubator on a Monday, the chicks will come out on a Tuesday three weeks later, as well as a few latecomers the day after on Wednesday.
Follow the development of your eggs…
The most amazing resource for following the evolution of the eggs in your incubator is Cath Andrew’s website Raising Happy Chickens. You can even sign up for the newsletter where you can read, day by day, what stage your eggs/chicks are in at that particular moment… just like there are newsletters for pregnant women to see if their baby is still in the cherry phase or is already turning into an apple 🙂
If you’d like, you can get a candling lamp so you can see inside the eggs. I love mine (a Brinsea OvaView and OvaScope set), but you can make one yourself as well. On the web, there are tons of tutorials — in the beginning, we made one as well. I just found the OvaScope so much more convenient.
If you “candle” once after about 10 days, and a second time, around day 18, you’ll be able to remove any eggs that aren’t developing properly. This way, you can make sure the “bad” eggs don’t rot and explode in your incubator and contaminate all the other eggs! Let it be known, however, that this has never happened to me — but the idea alone has always scared me into “candling” before lockdown.
Why you need to “lockdown” your incubator at the end of the process
One important thing (that Cath Andrews also discusses, but it’s such an important issue that I thought I’d tell you about it here, in case you’re not having a look at her website). I said above that you’re supposed to turn the eggs quite a lot every day — however, from day 19, you’re not supposed to touch them at all. No turning, no candling, and no opening of the incubator (unless it really needs more water and you forgot to fill it up on day 19).
Phases in a Chick’s Life: From 0 to 9 weeks
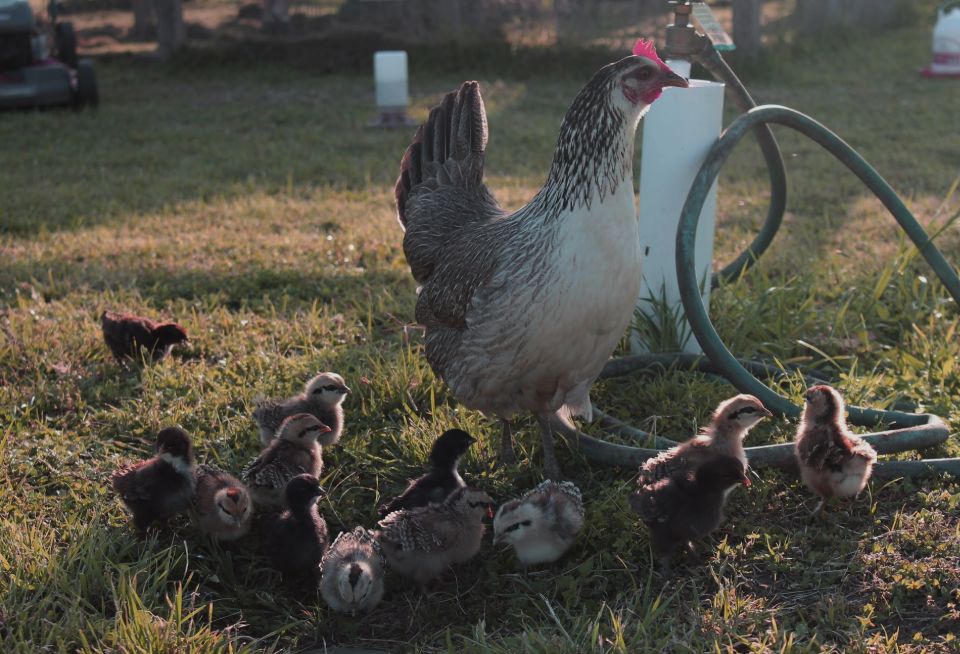
If you let your broody chicken hatch the eggs, you usually won’t have much work while the chickens are growing up. In the chicken coop or run, however, make sure there are no openings that the chicks could escape through (if they run away, they’re bound to not find their way back, and be taken by a dog or cat).
If you hear excessive chirping, there could be something wrong (typically it’s simply a chick that can’t find its mom or is stuck somewhere).
If you incubated the eggs yourself, however, you’re going to have to take care of the chicks like a mother hen… which involves the following steps…
0-3 weeks: From Chick Brooder to Cage…
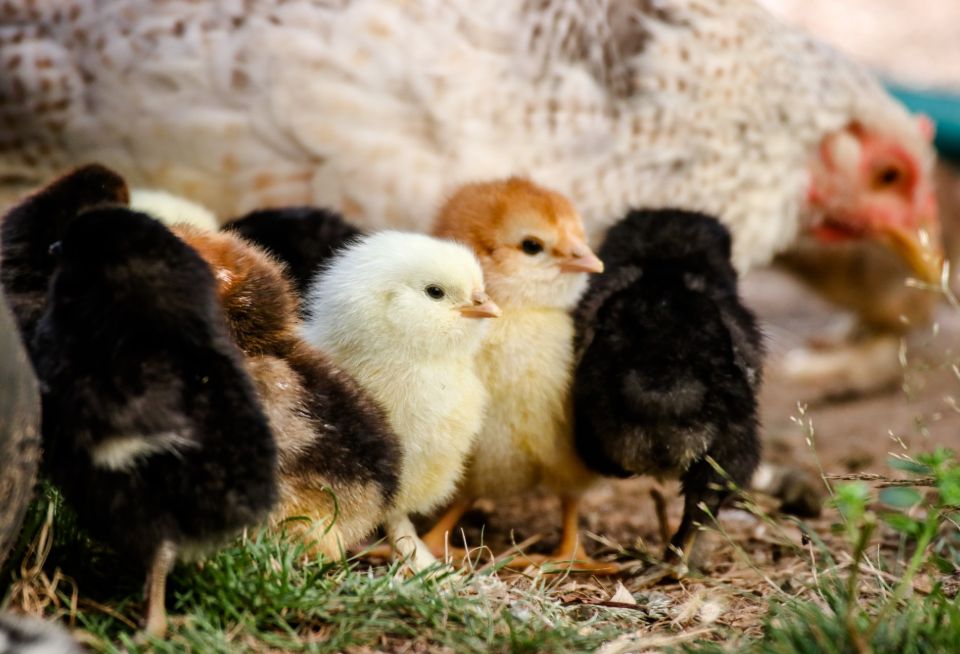
First off, you want to keep the cuties warm, fed and watered. Chicks will spend their first days in a brooder; my homemade brooder is a plastic box with holes. The box doesn’t take up much space, so for the early days, I can have it in the living room so I can conveniently observe the chicks and make sure they’re okay.
I have an EcoGlow 20 heater (surprise, it’s Brinsea as well) that can hold up to 20 chicks. I’m super happy with it. It has three levels: In the first week, the chicks are still tiny and will need the heater to be at the lowest level; during the second week, increase to the middle level; and in the third week, go up to the third level.
After the first few days, the chicks will move to a bigger cage. They’ll have more leg space, and you won’t need to clean it as much! The chicks still keep their little heater though, as they’ll continue sleeping under it for the first few weeks.
Things That Can Go Wrong with Hatching and Young Chicks
Chicks are definitely cutest in the first week — that’s also, however, where most things can go wrong. I’ve had chicks with wry neck, splay leg and pasty butt — the top three conditions to look out for in young chicks.
Chicks with wry neck
My experience with wry neck was never positive; in every case so far, we’ve had to euthanize the chick. Wry neck makes it difficult for the chicks to eat and drink, so euthanization is often the more humane way of addressing the chick.
Splayed legs in chicks
I have had so many chicks with splayed legs (also called spraddle leg) — until I discovered that it was all due to the chicks slipping. They’d slip and slide on the slippery platform of my incubator!
To solve this, I cut up an anti-slip mat, like the one you’d have in drawers, and placed it in both the incubator and the brooder box (where they spend their first couple of days), and that works like a charm.
Chicks with pasty butt
Pasty butt is easy to avoid and also easy to fix. Pasty butt simply means that the feces came out a bit pasty, and caused a backup for the successive excrement.
You’ll need to catch this quickly, but from my experience, once you’ve cleaned it away, it usually doesn’t return.
Pasty butt usually originates from a too-hot and/or too-humid brooder. I’ve learned that it’s a good reason to no longer hatch chicks in the middle of the summer.
4-9 weeks: Small but Voracious Tiny Dinosaurs
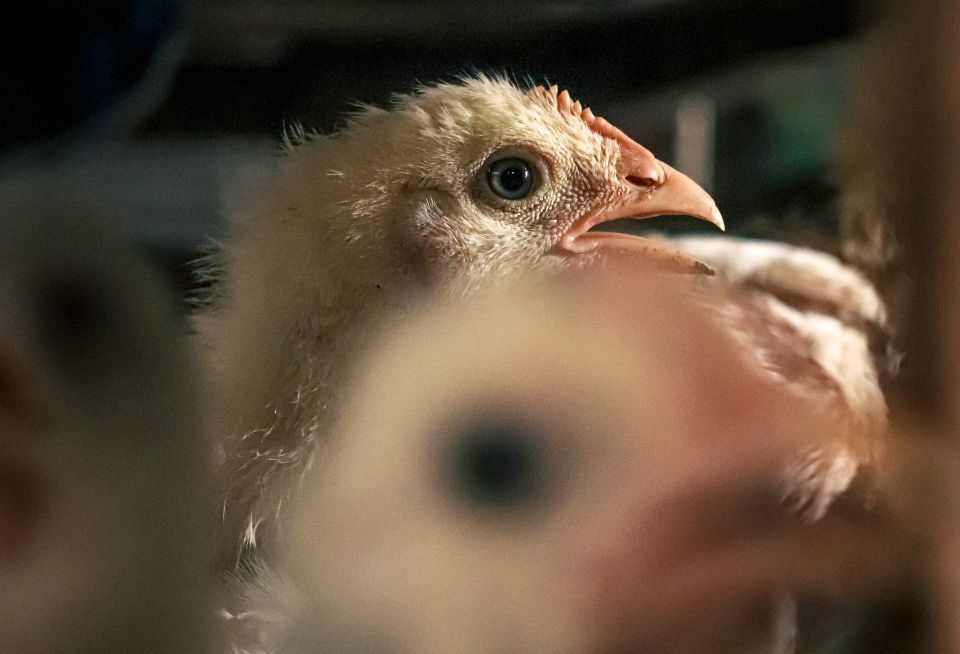
I take the heater away when the chicks are a little over four weeks old — and that’s also when I start to watch the weather to see when they can go outside. When chicks get BIG and eat a lot and make a lot of mess… outside is best. Even in a room that isn’t necessarily extra tidy (like a garage), you don’t want sawdust and straw and chicken poo all around!
Technically, chicks shouldn’t go outside before they’re eight to nine weeks old and have grown a full set of feathers. However here in Spain, on a beautiful and warm day, I’ll gladly put the cage outside, and at nighttime, bring the chicks back indoors to sleep. Sometimes, I’ll put the chicks in a somewhat-insulated cat carrier, so they can sleep outside all night.
If there are enough chicks to keep one other warm and if the nights don’t get too cold, I will sometimes leave the caged chicks outside as young as 6-7 weeks of age.
Older chicks look and act like tiny dinosaurs
Introducing Young Chicks to (Adult) Chickens
You should never just place chicks with adult chickens without any kind of introduction and supervision — your lovely, normally tranquil, adult chicken might approach the chick inquisitively, and then proceed to peck the little guy to death. Just because she can.
The way we introduce our chicks to the chickens is to allow the chicks to be near the chickens outside, but inside a “safe area,” a cage, or (when they’re a bit bigger), a little fenced-in area inside the chicken run. That way, they grow accustomed to each other’s existence without any risk to the chicks.
This introduction process often only takes a few days, although sometimes (especially when the chicks are younger) the process will take a few weeks until the chicks are completely safe to be left alone with the big girls.
If you’d like to speed up introductions, you can try putting the chicks in the chicken coop with the chickens at nighttime. Don’t do this from the get-go, however, and do keep an eye and ear out for fights. At our place, we’ve never really had fights beyond chickens pecking at chicks who come too close to their feeding bowl or sleeping spot… but then again, we’ve always been pretty careful with them.
Keeping Chicks Fed and Safe While Under the Watch of the Hens
When finally able to socialize freely, the chicks need a bit of assistance to access food, as the grown hens typically won’t allow the young chicks to eat. During this time, while the chicks are still young, perhaps set up several feeding and drinking points in the run.
Also, I’d advise making sure there are some escape routes in case the chicks get pestered. In our chicken run, we have a few pallets, bits of wood here and there, an almond tree, things chicks can hide under — or at least run through so the older chickens might lose them for a bit.
Other Things You Need to Know
How Long Does it Take for a Chicken Egg to Hatch?
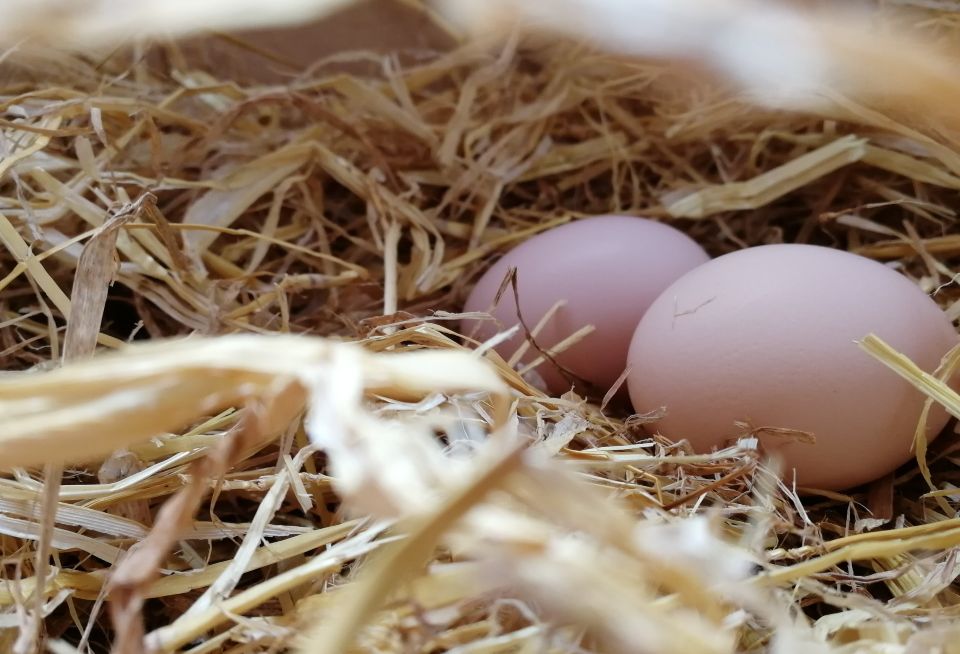
It usually takes 21 days for a chicken egg to hatch — to the day.
However, temperature fluctuations could account for a few extra days of incubation time; I have personally had chickens hatch (in the incubator) on day 23 or 24. These are exceptions though.
One other thing to take into account: If your broody hen has been collecting fresh eggs while she was already sitting on eggs, those newer eggs will hatch later as well In this case, if the chicken already has enough chicks to care for, she might not be bothered to stay on the last ones until they hatch. But more about that below!
When Does a Chicken Start Laying?
After you’ve introduced the pullets to your flock, all you want them to do is start laying, right? Depending on the breed, this can be really soon, or it can take a long time. Some breeds supposedly start laying at 16 weeks, but more often I expect my chickens to start laying around six months. Brahmas are an exception to that — they grow much slower, but will often not lay (much) before they’re 8-9 months old.
Don’t expect your pullets to start laying in the middle of winter — and if you’re planning out hatching, don’t forget that they’ll also stop laying for a bit when they molt. However, our experience is that chickens will lay better and more consistently after their first molt. We’ve heard many stories of people butchering their chickens because they “stopped laying” and were “looking sickly”… killing off your chickens when they molt doesn’t seem like a very good investment to me.
What If You End Up with Too Many Roosters?
This is a difficult question to answer… When you hatch your own chicks, chances are half of them will be roosters. I read an interesting article about how you can trick Mother Nature into hatching more hens than cockerels on Fresh Eggs Daily but have yet to put it into practice.
Most roosters won’t want a second male in their flock — especially if the flock is small. It’s said that you shouldn’t add a second rooster to your flock until you have at least 15 hens. The perfect ratio is said to be one cockerel to 10 chickens.
That being said, at the time of reviewing this article, my flock went down from 17 to 7 hens – but still has 2 roosters. There has been a clear hierarchy from the beginning and George Cookelooney (the bigger but younger one) has always seen Buster (the smaller rooster) as the boss. I wouldn’t recommend it, but it’s working for us!
I consider it an exception, as keeping a second rooster often didn’t work out, even when we had way more hens.
Now what to do with those extra boy chicks?
Friends often ask me if I would like to buy a nice cockerel. He’s attractive, they say, and he’ll be a good protector for the chickens, so why not take him? Well, for one thing, we already have a rooster — we hatch our own chicks as well, remember?
We’ve had the idea of creating a flock of only roosters, and just putting them outside in the “chickshaw” with an electric fence to protect them. We’ve heard that if the roosters stay far away from the hens (as in, can’t see them, can’t smell them), most rooster breeds will be okay with hanging out with just the boys. However, we wouldn’t want to add an almost-adult cock to that flock.
Sometimes, you will find a new home for those cockerels; maybe someone who already has chickens and wants some new blood in the flock (to prevent too much inbreeding), or maybe someone who just had to say goodbye to their resident roo.
In many cases, though, people willing to take on a rooster for free will just want it for Sunday’s dinner. Our stance on this is simple: Unless a rooster can protect the flock and fertilize eggs, he’ll just be consuming extra chicken food and costing us money.
We give our flock a wonderful life on our little farm, but in the case of too many roosters, that dilemma will end pretty abruptly — in my kitchen. The average store-bought chicken isn’t even comparable to that of our own roosters, which is much darker, gamey-er, and a whole lot tastier.
A side note on Brinsea products
Brinsea is not paying me to promote their products, but they’re my absolute favorite. I often hear people say that Brinsea products are quite expensive. After trying a few other systems, however, I just swear by them for the following reasons:
- Reliability: My Brinsea incubator (this is the one I’m using – they’ve got bigger models too!) has a much higher hatch rate than other incubators I’ve tried, and there are several fail-safes to make sure things don’t go wrong (like the alarm sound if the temperature’s off).
- Ease of use: My Brinsea products are all very easy to set up and extremely easy to clean. As in, most of it can just go in the dishwasher after use.
- Low-power consumption: Some off-grid friends of mine have had issues where the incubator drained their solar power system (the batteries) at night after a not-so-sunny day… ours is so economical, that the consumption issue doesn’t even arise.
- Unobtrusive: I’ve seen quite noisy incubators, as well as devices that took up a bit more space than I’d like. I’ve never had this issue with any of my Brinsea equipment.
- Safe: When I started, I had glow lamps that broke — I’ve even heard firsthand of glow lamps catching fire. I’ve never experienced any such problems with my Brinsea brooder heater.
Basically, as you can tell, I really believe that Brinsea products are well worth their money.
Are You Raising Your Own Chickens From Eggs?
Please let me know in the comments… Have you ever hatched your own eggs? Did you use an incubator, or did Mama Hen do the work for you? If you’re planning to hatch your first batch, do you have any questions I could help you with?





I’d like to do this but how do I go about avoiding inbreeding? Because if I let nature do it’s thing they’re all gonna be “related” right?
The easiest way to avoid inbreeding is probably to switch roosters every year, unless you have the capacity to keep different groups and rotate roosters (most people don’t).
What I’ve done myself in the past (from time to time) is getting eggs from other places: we’d swap eggs with people living around here or (even better) buy a dozen fertile eggs when visiting someone in further-away places. We’d keep eating the majority of the eggs laid by our own chickens, and let them hatch and raise unrelated chicks.
I am looking into starting a broiler farm. My thought is to also have hacking chickens to resupply my broilers. Is that a feasible plan or is there a problem with my thought process. I was thinking Road Island Reds because of the climate in Texas. Also I was wondering how far you usually move the chickens each day? Please let me know
That’s quite a bit of food for thought in one message 🙂
First of all, if you mean having hatching chickens to resupply your broilers… are you meaning chickens that would hatch new chicks and raise them? While you could do that,
– Rhode Island Reds wouldn’t be my first choice – they’re not particularly known for their broodiness (on the contrary, as far as I know, they’re good layers and no one wants to see them get broody!). Instead, consider Silkies, Orpingtons or Wyandotte…
– However – getting chickens to raise chicks is fun, but not particularly efficient. You can hatch more chicks in one round with less hassle with an incubator. You don’t need to wait for chickens to get broody – but simply acquire eggs when you’re ready for a new batch.
As to how far I moved my chickens in my chickshaw (which is currently decommissioned, story for another time): since I used an electrical fence to give them lots of room to roam around, I didn’t have to move it every day. And when it was time (= they were starting to scratch up more than I wanted), I’d just move the fence (and the mobile chicken coop) to the next bit. So it all depends on how many chickens you have, and how big the mobile run is.