There are so many ways to process your harvest and not waste food — either bought or homegrown. You’ll have to discover what suits your fancy, and there’s so much to choose from.
Maybe you don’t have such a big freezer, or perhaps you don’t like fermented foods like sauerkraut or you don’t have much use for canned tomato sauce.
Once you get the hang of a certain technique, however, you’ll have the ease and convenience of trying it out at home and learning how it fits into your particular lifestyle.
None of these methods is intimidating or daunting — once you actually learn how to do each one — so let’s discover the ins and outs of each preservation technique.
Additionally, by preserving your own food, you’re on your way to a sustainable lifestyle and helping to reduce waste — if you have backyard chickens, then they can help as well by eating all your kitchen scraps.
We’ll delve deeper into each one, but here’s a sneak peek as to how you can preserve your food: Canning, fermenting, dehydrating, pickling, freezing and packing away in straw in a cold dark room.
Table of Contents
Canning, Jarring, Bottling — A Rose Is A Rose Is A Rose
You Can Can!
Tomato Sauce All Year-Round
Basic Tomato Sauce Recipe
Other Canned Fruit and Veggies
Turning Fruit Into Jam
The Lovely Sourness of Fermentation
Savory Tangy Sauerkraut
Easy Piquant Fermented Ketchup Recipe
Tangy, Dilly Pickles
Other Fermenting Ideas
Dehydrating Foods for Extra Crunch or Chewiness
Air-Drying vs. Dehydrating
Chewy Dried Fruit
Savory, Crispy Dried Veggie Chips
Once You Start Dehydrating, You Won’t Be Able to Stop
Frozen Fruit and Veggies: Save Room In Your Freezer!
Frozen Fruit
Frozen Veggies
Root Cellar, Pantry, Basement
The Endless Glories of Preserving Food
Canning, Jarring, Bottling — A Rose Is A Rose Is A Rose
You Can Can!
What on earth does one do with all those garden tomatoes and beautiful ripe peaches? Come July, in my small part of the world, I see a lot of local farmers tenderly lugging around bags of beautiful pink garden-fresh plump tomatoes to pass out to friends and family who don’t have their own garden.
Surely, those tomatoes are simply the overflow, after the farmers themselves have canned a whole slew of them for their own family’s use through the rest of the year.
Tomatoes, of course, aren’t the only thing you can stick in a bottle and preserve. You can conserve peaches, pears, corn, green beans, caramelized onions, whole grapes, minced garlic, lemons, cherries, and the list goes on and on.
A lot of people are a bit wary of canning because — who hasn’t heard of botulism? But, we’re not worry-warts here. Whether you’re a gardening intrepid homesteader or a supermarket-buying soccer mom, you can can. Approaching the subject of food preparation in any manner warrants some knowledge and the same goes with canning.
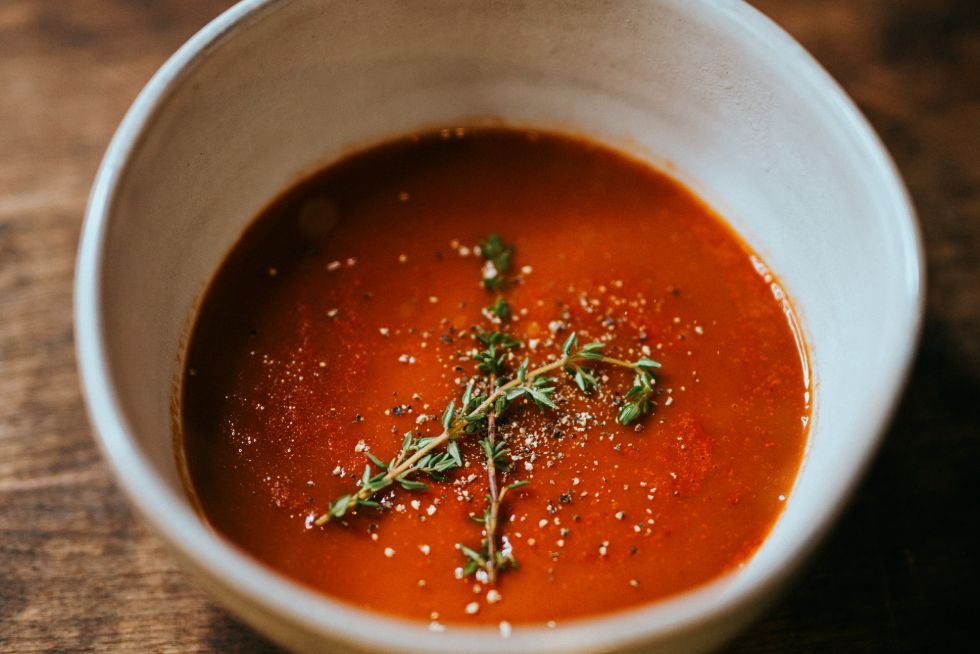
Enjoy Tomato Sauce All Year-Round
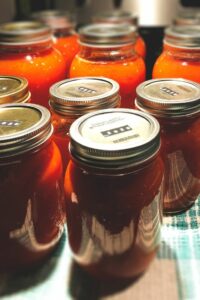 Back to tomatoes. Throughout the year, my kids eat tons of tomato sauce — poured over pasta, slathered on homemade pizzas, as a thickener in lamb stew, or to flavour Greek lentils.
My children definitely know the difference between store-bought sauce and mama’s homemade tomato sauce — there’s really no comparison with homegrown tomatoes straight off the vine.
Come Spring, after we’ve emptied the last jar of last year’s homemade sauce, and I cook up some spaghetti with store-bought sauce, one bite and they know. My technique is super simple and so tasty, so let’s get to it.
Basic Tomato Sauce Recipe
For a basic delicious tomato sauce, I use my homegrown Roma tomatoes, which have less juice inside and more tomato meat. I grab a large deep pot, pour in a couple of tablespoons of olive oil and throw in some chopped garlic and red pepper flakes.
After a couple of minutes of gentle sizzling over a low flame, I toss in quartered tomatoes until the pot is nearly full. Then I cover the pot and bring the tomatoes to a slow boil, mixing every now and again. When the tomatoes have reached this gentle boil, I turn down the heat and simmer them for several hours until the sauce reduces a bit to my liking.
When the sauce has reduced, I season the tomato mixture with salt and pepper, then add about two tablespoons of lemon juice to every quart (1 liter) of tomato sauce to ensure safe acidity. Finally, I pour the chunky sauce into my Vitamix to whiz it into a smooth seedless, skinless sauce.
Meanwhile, I start another deep pot with water to boil, and when bubbling, I gently drop in several 17-oz (0,5-liter) bottles, standing up and covered completely with water and let them simmer for about 15 minutes.
I have this simple yet sufficient canning kit, which I really like. Inside, you find all the tools to avoid burning yourself.
After 15 minutes, I remove the bottles, fill ‘em with sauce, tighten a canning lid on top and submerge them again in the pot of boiling water for about five minutes to properly seal the tops on.
It’s that easy. If you like a spicier more Arrabbiata-like tomato sauce, sprinkle in some red pepper flakes with the garlic.
For a more in-depth look into the glories of canning tomatoes, have a look at this tomato canning safety webpage.
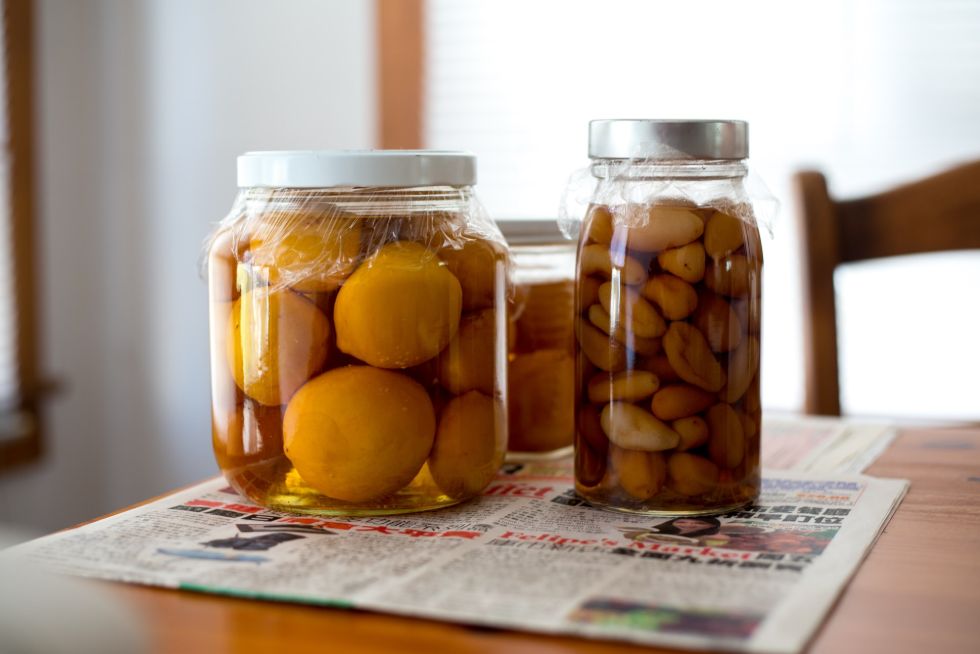
Other Canned Fruit and Veggies
If you’d like to try your hand at something different, like canned apricots or peaches, have a look at how to make some delectable honey-sweetened canned peaches. I have several apricot trees on my property, and my kids and I can never get through the peaches. We give some to friends, and then the rest go in jars to last throughout the year.
Come autumn, when the temperatures drop and the fruit trees start going dormant, it’s wonderful to look in your pantry for a snack and see all those colorful jars of plump canned fruit. Apricots are especially delicious, as they’re already sweet and then by adding a bit of sugar to the canning process, you have a mouth-watering snack.
For a delicious homemade snack, try this easy canned apricot recipe. For a downright exhaustive list of what you can harvest and preserve with canning, have a look at 60 Popular Canning Recipes to preserve your veggies, fruits and meat.
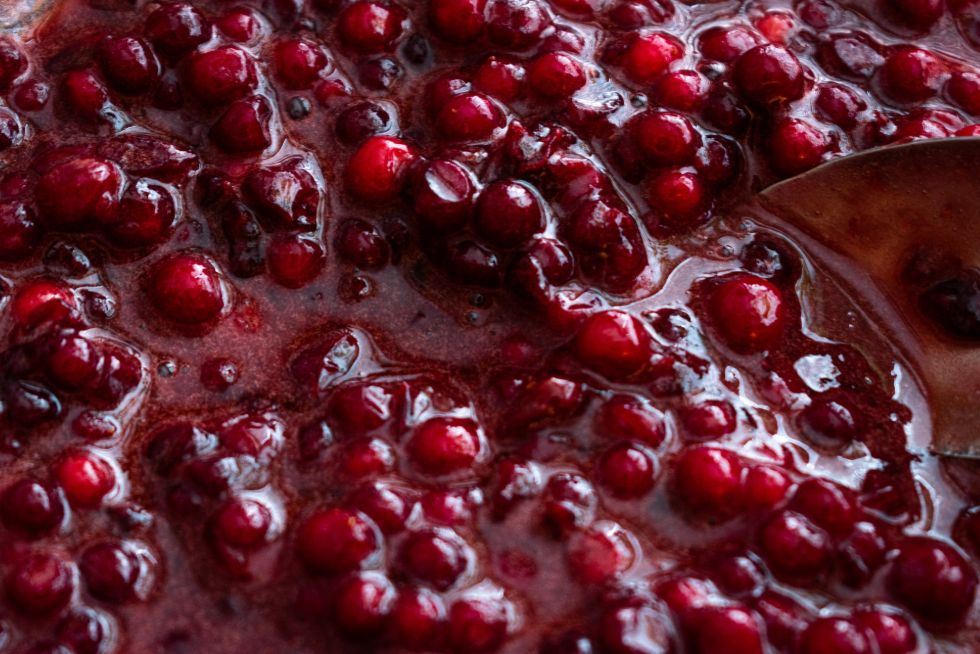
Turning Fruit Into Jam
One of the long-standing easy ways to preserve fruit is to turn it into jam. There are so many varieties: rhubarb jam, strawberry, raspberry, apricot, blackberry, tomato, and the list goes on and on. Many people are trying to cut back on refined sugar and so sweeten their jam with a bit of honey instead.
To help thicken jam, most people use either a high-pectin fruit or added pectin. The fruit that contains a lot of pectin include most berries, plums, quince, apples, pears, oranges and other fruit. When heated together with sugar, the pectin causes a thickening that is characteristic of jams and jellies.
Fruits that are low in pectin include strawberries, apricots, grapes, blueberries, figs, cherries and rhubarb. In their jam recipes, many people choose to avoid using added pectin, as it’s been shown to reduce the body’s ability to absorb beta-carotene and can cause mild digestive disorders.
At the end of the summer, when I make fig jam, for instance, I know that figs don’t have a lot of pectin, so I throw in some high-pectin blackberries (both figs and blackberries are in season simultaneously in my part of the world). I end up with a succulent cocoa-brown-colored, stick-to-the-spoon jam.
For an absolutely scrumptious jam recipe, try this fig, honey and walnut jam. Or if you’d like to try your hand at a pectin-free sweet strawberry jam, have a look at this 3-ingredient strawberry jam recipe.
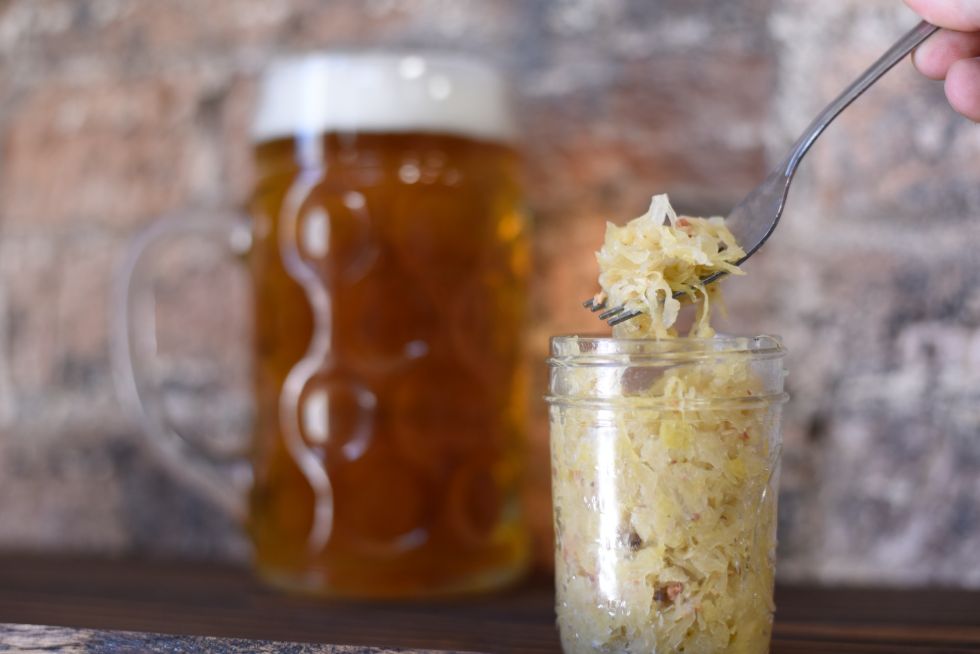
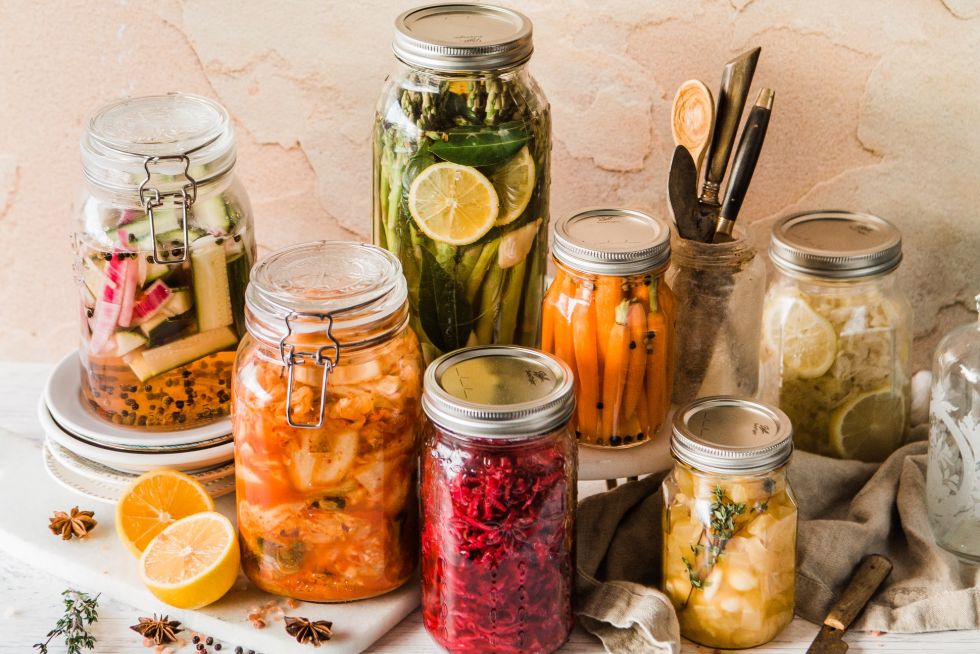
The Lovely Sourness of Fermentation
Most people forget that some of our most known foods are actually fermented. Take sauerkraut, homemade fermented ketchup, pickles, chutney, yogurt, beer or wine.
Not only does fermentation extend the life of your produce, but it often also creates more nutritionally dense food loaded with probiotics that contribute to a healthy gut.
Recipe: Savory Tangy Sauerkraut
One of the staples in our home is sauerkraut (although I prefer the spicier Korean version, called Kimchi — same idea, different spices). Rather than spending a load of cash on store-bought probiotics, I mix up a batch of sauerkraut and keep it in the fridge for my family.
A small serving of this delicious fermented cabbage contains more lactobacillus than yogurt and is said to help with a whole slew of gut disorders, like irritable bowel syndrome.
If you’ve got cabbage growing in your garden, you’re off to a head start. Grab one of those heads, core it and shred it to about bite-sized pieces.
Toss it in a large bowl and add about one tablespoon of each caraway seeds and sea salt, and about ¼ Cup of homemade Whey. Fresh whey, easy to make and lasts a long time in the fridge, is optional, but it helps stimulate good bacteria.
When well mixed, pound the cabbage mixture with a wooden pounder or spoon for about 10 minutes to release the juices, then let it sit for about 30 minutes to allow the cabbage to wilt.
Pound again and then stuff into a quart-sized (1 liter) wide-mouth mason jar, pressing down firmly with your pounder until juices cover the top of the cabbage. The top of the cabbage should be at least one inch (2,5 cm) below the jar, as it will expand a bit during fermentation.
Cover tightly and keep in a cool, dark place for about three days before putting in the fridge. I store mine on the pantry floor atop newspaper, as the sauerkraut might leak a bit, and at least once a day, I crack the jar open to release any pent-up gas.
The sauerkraut should bubble when you open the jar for the first couple of times. After about three days, you can eat it immediately, although it really improves with age.
Easy Piquant Fermented Ketchup Recipe
In my household, my kids love homemade fermented ketchup. Besides canning my tomatoes into sauce for the colder months, I also prepare several jars of ketchup to last us until the next summer’s tomato season.
To increase even more favorable gut bacteria, why not whip up some fermented ketchup? This ketchup can last for months in your cupboard or pantry, and it’s absolutely delicious and so healthy for you.
I’ve tried several recipes, but I’ve found that I like this one best. It’s straightforward and turns out a lovely, smooth ketchup that you and your family will love. For the best ketchup recipe, try the Prairie Homestead Fermented Ketchup.
Tangy, Dilly Pickles
Who doesn’t love pickles? Well, I suppose there are some folks who don’t, but pickling is a fun way to use up all those trellised cucumbers.
My vine cucumbers get devoured pretty quickly here by my children, but the few that I do have leftover, I pickle. Many pickle recipes use vinegar as a preservative, but fermented pickles carry the additional benefit of favorable bacteria and gut-supporting digestive enzymes.
Like tomatoes, pickling cucumbers seem to have an endless array of variety: pickled spears, kosher dill pickles, ginger or spicy pickles and even sweet pickles. Best of all, you can use the huge overgrown cucumbers that you forgot or missed on the vine.
For a fantastic selection of pickle recipes, have a look at Fermentools Pickle page.
For another basic resource for pickling 101, try your hand at The Ultimate Guide to Everything Pickled. There you’ll find lots of innovative ideas and clever pickling methods for pickle dos and don’ts, Polish-style pickles, pickled beets and more.
Other Fermenting Ideas
To try other fermentation recipes, have a look at this Fun with Fermenting website. You’ll find everything from kefir to fermented radishes, grains and teas to preserved lemons.
If you’d like to know all the ins and outs of fermenting any and everything, have a look at the Fermentools webpage — they’ll take you through the step-by-step process with care and ease.
Dehydrating Foods for Extra Crunch or Chewiness
For a bit of crunch in your life, you might consider investing in one of the fantastic dehydrators available today. Before you tsk tsk this idea, let me tell you that I’ve tried outside air drying, and I ran into a few problems.
First, let’s understand what dehydrating actually is. Dehydrating removes moisture from food through evaporation to inhibit the growth of bacteria, yeast and mold. The steady airflow and low heat of a dehydrator make this process easy and essentially foolproof.
Used since the dawn of civilization, dehydrating is actually one of the oldest methods of food preservation.

Air-Drying vs. Dehydrating
Under the Spanish hot summer sun, I tried drying figs (thinly sliced and laid out on a tray) but found myself dashing out to rescue them when an unexpected rainfall began. Another issue for me was the troublesome fly. I even tried covering my trays in mesh, but those pesky flies found their way underneath. My dehydrator came as a much-welcomed blessing.
A dehydrator is an investment, but I easily use mine several times a month for everything from kale chips to fruit roll-ups to beef jerky. I love my Excalibur dehydrator, which has nine trays, so I can get a lot in there, and the flexibility it gives me in preserving food is unbeatable.
Throughout the year, from my own backyard garden and farm, I can collect kale, wild figs and blackberries, apricots, strawberries, peaches and more to stick in my dehydrator.
Chewy Dried Fruit
Making dried fruit is so easy and tastes so finger-licking good that it will undoubtedly become a staple in your pantry.
Take apricots, peaches, apples, bananas, plums and slice them up thin and layer them flat on the dehydrator mesh trays. In a couple of hours, you’ll have dried fruit to eat as is or to stick in a mason jar and refrigerate or store in a cool dark place with a small silicon pack stuck inside.
If you’ve got a bunch of overripe brown bananas, you can whiz them in your kitchen mixer (or by hand) to make a puree, and then spread out the puree on your dehydrator’s silicone sheet and pop it in your machine for a couple of hours. When sticky to the touch, you can take your kitchen scissors and slice it up into long strips to then roll up for amazingly delicious fruit roll-ups.
Of course, you can turn almost any fruit into roll-ups using this same technique. The possibilities are endless.
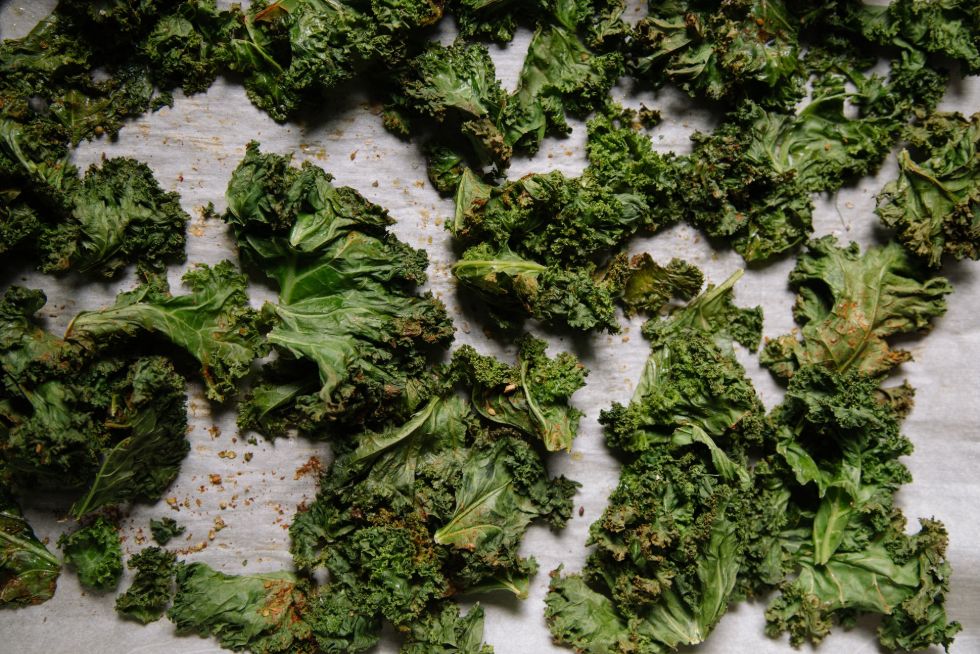
Savory, Crispy Dried Veggie Chips
For a savory vegetable snack, I chop up some fresh garden-harvested kale ripped-up kale and mix it with some sea salt, lemon juice and nutritional yeast. I coat it well and then layer it on the mesh dehydrator trays and stick it in my machine for a couple of hours to make some crispy mouth-watering kale chips.
The nutritional yeast adds some B12, Vitamin C and a cheesy-like taste, while the lemon juice adds a lovely tang. Again, you can play around with the ingredients to find what you like best. Chili flakes and good ole Tabasco sauce are other alternatives that I love.
Of course, you can also dehydrate your leftover tomatoes. Simply slice them thin and season with salt and pepper and pop them in your dehydrator. When dry, you can chop them up and add them to a jar with olive oil, and as they absorb the flavorful oil, the tomatoes will develop a beautiful flavor to be added to salads or stews.
Once You Start Dehydrating, You Won’t Be Able to Stop
Dehydrating foods is so much fun and so satisfying, as you’ll realize that there’s really no end to the possibilities. There are so many options out there — if you’re an omnivore, you can dehydrate thinly sliced beef for homemade beef jerky or South African-style biltong.
To explore the world of dehydration, have a look at this incredibly resourceful and valuable book The Ultimate Dehydrator Cookbook — you’ll find recipes for peach-mango fruit leather, instant soup or trail mixes and much more.
If you’d like an online resource with tons of heavenly recipes, have a look at 40 Foods You Can Make in Your Dehydrator — things like pumpkin-apple leather, every kind of dried herb, even yogurt.
Frozen Fruit and Veggies: Save Room In Your Freezer!
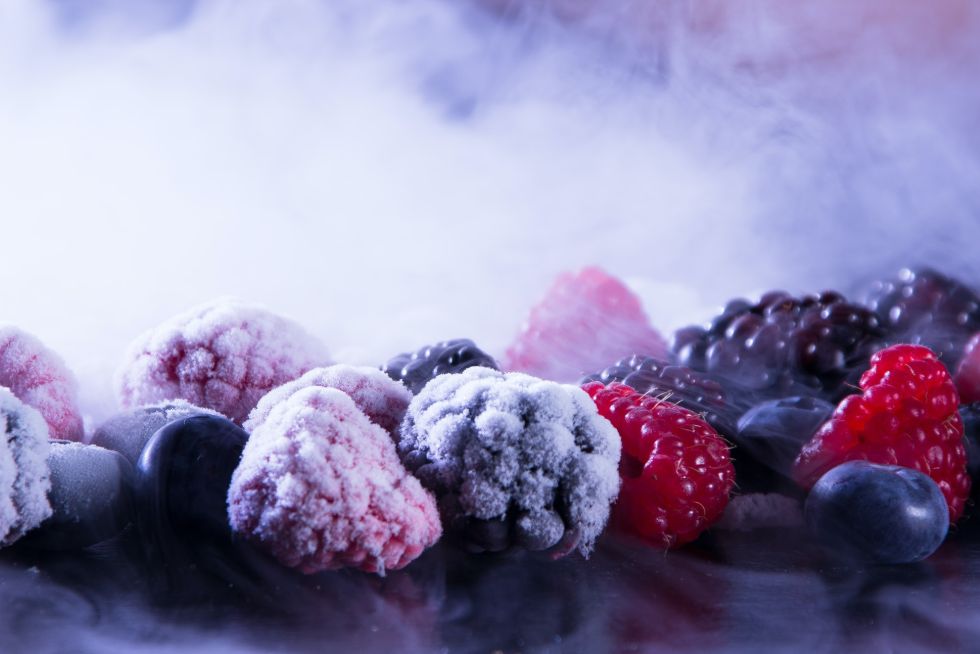
Another often overlooked way to preserve food is to freeze it! Freezing serves as a resourceful way to preserve your food until you actually find the time to can, dehydrate or whatever it is that you plan to do. But frozen fruit, for instance, is a much-needed ingredient to make a splash of a delicious smoothie.
Basically, almost any vegetable or overripe (or not) fruit can be frozen. For instance, I love freezing overripe brown bananas — I cut them up into chunks, place them on a wax paper-lined plastic tray and pop them in the freezer. When frozen, I collect the fruit into a freezer bag, seal it, and that’s all there is to it.
Frozen Fruit
I use frozen banana chunks for superbly scrumptious smoothies (you can find more smoothie goodness here) — in your kitchen-top mixer, try whizzing them up with frozen raspberries, a can of coconut milk, a tablespoon of honey and water for your desired thickness.
Follow the same freezing process for raspberries, strawberries, blueberries, cut up peaches or apricots. All of these are delicious in smoothies or baked into pies, pancakes or muffins.
By freezing them flat on a wax-paper lined tray, they won’t stick together and then you can simply grab a handful from your freezer bag and go to work on whatever recipe you’re making.
Once summer’s in full swing, I use frozen fruit for popsicles. My kids go crazy over these, and they couldn’t be easier to make. In my Vitamix, I puree my frozen fruit with coconut milk and a bit of honey and then pour the mixture into these fantastic silicone popsicle molds.
Every popsicle batch I make is different — depending on what I have in my freezer — and each one is as delicious as the other.
Frozen Veggies
I also freeze vegetables to preserve them until I’m ready to use them for a meal. Like fruit, I freeze the vegetables in a single layer on a wax-lined tray and then pop them in plastic freezer bags for longer storage.
This system works great for a variety of vegetables, including green beans, asparagus, peppers, summer squash, broccoli, blanched spinach, peas, as well as sliced carrots and celery (both great for homemade broths).
In fact, when your harvest overwhelms you and you’re simultaneously busy canning and dehydrating your tomatoes, freezing the rest of your garden vegetables is almost the best time-saving preserving option.
For a great information-packed article on freezing your garden (or store-bought) vegetables, have a browse through this Mother Earth News post on “Freezing Vegetables From Your Garden.”
Root Cellar, Pantry, Basement
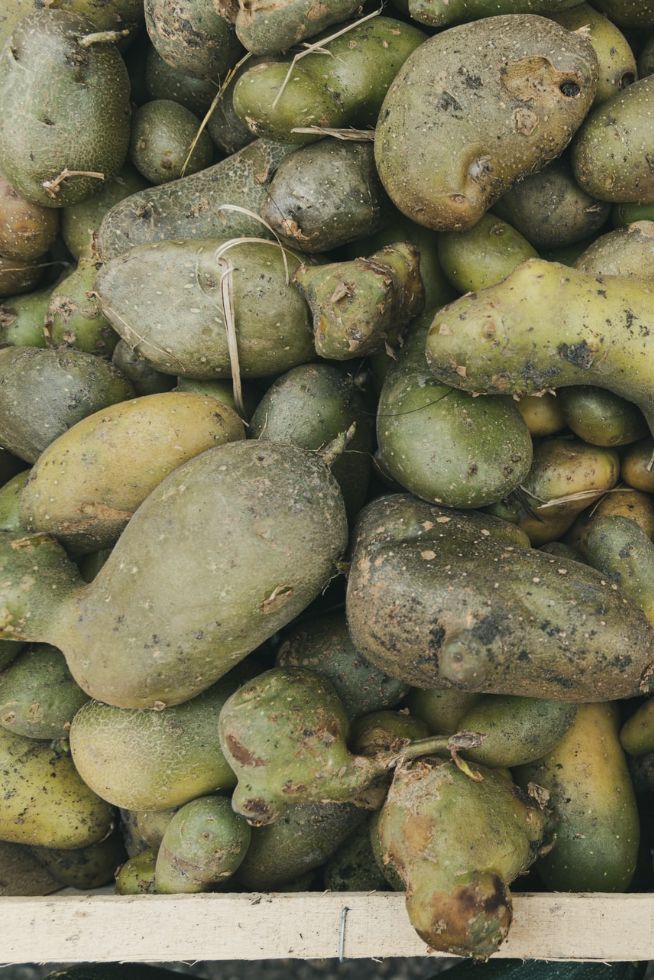 For all those potatoes, onions, parsnip, pumpkins, carrots and beets, find a cozy storage spot in a cold, dark place in your house — an unheated basement or a root cellar is perfect. If the area is damp, then consider placing a fan inside to circulate the air and avoid mold.
In my house, I have a root cellar, with shelves that I layer with straw. I place the potatoes on top of the straw, then tuck them in and cover them with more straw. If you don’t have a root cellar, cardboard boxes lined with burlap or a towel also work great. A small chest of drawers would also suffice, but make sure to leave the drawers cracked for a bit of air circulation.
If you’d like to read further about how and where to store potatoes, have a look at Tried and Tested Tips for Storing Potatoes Successfully. For other ideas on what you might store in your root cellar, basement or dark pantry, have a look at this resourceful 14 Foods That Store Well in Root Cellars — everything from cabbages to garlic to broccoli to dried beans.
The Endless Glories of Preserving Food
There you have it — don’t let this overwhelm you. There’s no need to do every single preserving technique, but rather, find the one or ones of your choosing that fits your lifestyle.
One of my favorite parts of preserving food is the simple fact that I’m not throwing anything away. Excess or overripe food either gets preserved or fed to my chickens and compost.
For a great all-around kitchen-shelf resource for preserving food at home, check out the new and updated version of the Ball Complete Book of Home Preserving from the same folk who make the wonderful essential-for-canning Ball jars, founded back in 1880.
To accompany the Ball book, another outstanding book that will also help get you started on the road to self-sufficiency through preserving food is FoolProof Preserving by America’s Test Kitchen. They’re a hands-on meticulous group of passionate chefs, and they offer step-by-step instruction.
We’d love to know if you have any clever food preservation tips to share — please leave them and any thoughts or stories in the comments below.


0 Comments